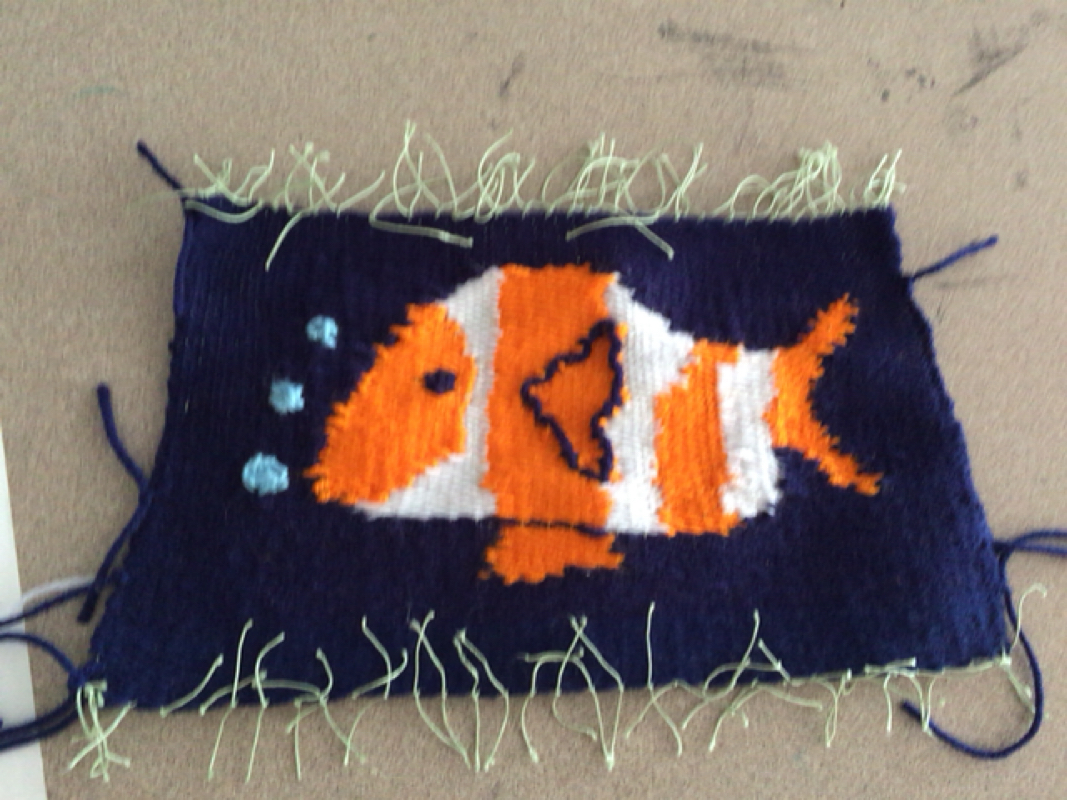
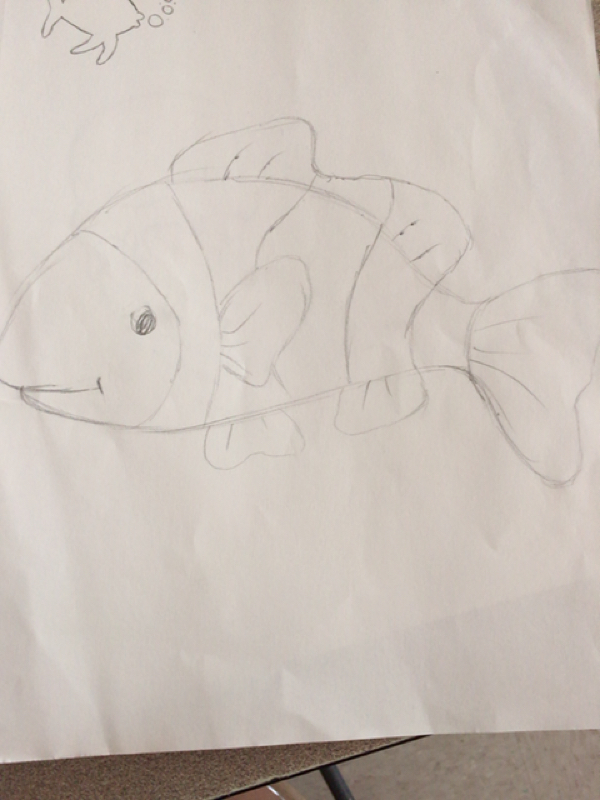
For my extra credit piece I did the weaving. I started out by drawing the picture I wanted on the strings that I wove. After I drew my picture I started out with the blue and then started adding in the orange and white yarn. I did one stripe at a time until I finished the fish. After I finished the fish I finished going around it with the blue and then I added the eye and bubbles on top by just sewing on top of the already woven parts. Then I added the outline of the fin and then I was done!
For my pit firing piece I started by making the basket from clay. I got a large piece of clay and flattened it then cut it in long strips. After I had cut it in the strips, I used a mold and started wrapping the strips around it in one direction and then weaving the rest into it in the other direction. After I made the basket we fired it and then wrapped it in foil with leaves and sticks that would burn and make the smokey affect. For my dwelling project I used a tree branch, cardboard, and tongue depressors. I found a tree branch in my backyard and then used cardboard to make the base of the house. I used a hot glue gun and built it around the tree lim. After I had the structure made from cardboard I used the tongue depressors and glued them on the cardboard to resemble shingles. I added a shed roof with a slight slant. I also added a window by cutting out a hole in the front and added shutters. I also used more tongue depressors to make a ladder and just hot glued it to the bottom. For the free or under $3 project I decided to carve soap. I got a pack with three bars for $1.50. I looked at Pinterest for different animals to carve. Once I found what animals I wanted to do I started by drawing the outline and then began to carve out the shape. After I carved the shapes I had to round out the edges and add more textures to make it look more like the animals. Overall I enjoyed doing this project and carving the soap. Pinterest link: http://pinterest.com/kpruett00/sculpture-ceramics/ For my vessel I decided to do a simple bowl with a design on it. I sculpted the bowl and the butterflies separately and then attached them together. Before firing the bowl I carved a design into it to give it some texture. After firing I decided I wanted to make it all one color so I painted it all light blue and then added some other shades of the same color to give it more detail. I enjoyed this project but wish I had done something else with more shape to it. Pinterest link: http://pinterest.com/kpruett00/sculpture-ceramics/ For my animal head project I chose to do a pig. I started out with a round piece of clay and then started to shape the face from the inside pushing out certain spots. I shaped the face and the snout from the round piece of clay and then made the ears and attached them later. I used a carving tool to add details like the wrinkles on the nose and the eyes later. Clay TileCardboard ReliefOf these two reliefs, I found the clay tile the hardest. I thought this was harder because I had not really worked with clay that much before so I found it hard to make it 3D and to make an animal out of it. I thought the cardboard relief was easier because I could draw my image on the cardboard before I had to cut it out, and also it wasn't as 3D so that made it easier. Final PieceFor this piece we were told to do make something with human and nature. I thought this could work because the sun and moon are considered nature, but with the faces they are also human. To make this piece I had to learn a new technique since I had never really worked with cardboard other than for the relief, so I was using a new media also. It was a lot different than working with clay or than just drawing on paper, which is what I am used to. Doing this piece, I created my own original work. I thought of the idea and looked at a few pictures for inspiration, but I drew out my own design and used the different textures in the cardboard to make it my own and original.
I created this with a styrofoam cup. I used an exacto knife and cut out sections while still leaving enough support for it to stay standing in its original shape. After I cut out sections I added pieces back in, in different spots. A problem I had when I was making this was getting it to still stand up without pieces. I overcame this by adding in other pieces to give it more support. If I were to do this again I would mostly likely change what I did by coming up with a plan of what I was going to cut out, instead of just cutting out random pieces.
My sculpture inspiration is Ignacio Canales Aracil. He is a spanish artist who creates sculptures with pressed flowers. The art of flower pressing was first discovered in a 3,000 year-old coffin in Egypt. Ignacio's technique is a little bit different though. He depends on large cone-shaped molds and places carefully woven patches of hand-picked flowers around them. The pieces dry up for a month without any adhesive and the final product is rigid enough to stand without any support. Ignacio's work inspires me because I think it is amazing how he takes something as simple and delicate as a flower and makes a sculpture that is sturdy enough to stand alone. His art draws me in because even though he puts the flowers in a completely different form, they still maintain their beauty and look so delicate. My favorite piece is the one below because I think he used all the flowers and their colors so perfectly.
|